In today’s tech-driven world, laptops have become indispensable. They offer numerous benefits like portability and compactness. However, they also come with certain drawbacks. One major disadvantage is the limited battery life, and another significant issue is the small screen size. When you’re accustomed to working on a 27-inch desktop monitor, a laptop screen can feel quite cramped.
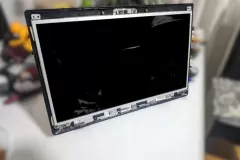
Laptops typically don’t come with the option of a second monitor. However, the market is evolving, and innovative solutions are emerging. I found myself in a unique situation that led to an interesting project. After 12 years of using a Lenovo laptop, it finally broke down. Fortunately, several components were still functional. I repurposed the RAM modules for another old laptop, converted the hard drive into a portable one, and decided to transform the laptop screen into an additional monitor for my current laptop.
Inspired by YouTube tutorials, I embarked on this DIY project and sourced the necessary parts. As the saying goes, “health is the most important, and everything else can be found with the Chinese.” True to this, I ordered the required components from AliExpress, which were delivered in record time. The entire investment was about 30 euros, as I already had everything except the controller.
Here’s a step-by-step guide to turning an old laptop screen into a second monitor:
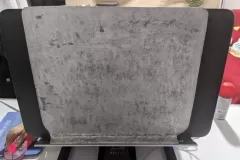
- Identify the Screen Model: Find the model number of your old laptop screen. This is usually located on the back of the screen.
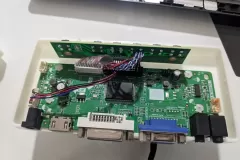
- Purchase a Controller Board: Once you have the model number, you can purchase a compatible controller board from sites like AliExpress. This board allows you to connect the screen to your current laptop via HDMI or VGA.
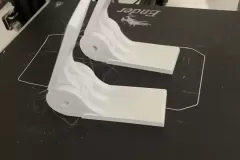
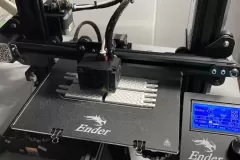
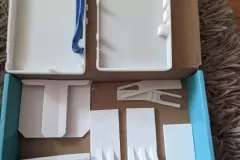
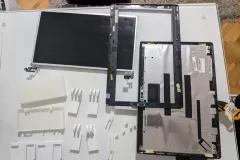
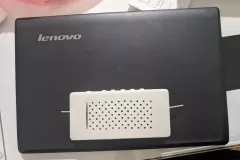
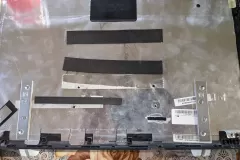
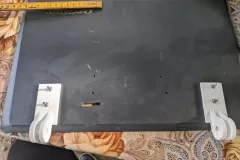
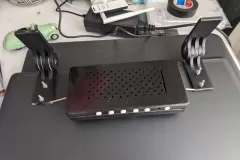
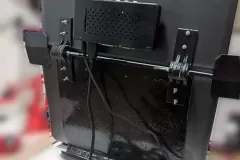
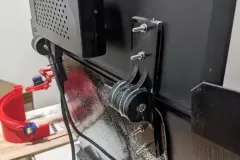
- Assemble the Components: Follow the instructions provided with the controller board to connect it to the screen. Ensure all connections are secure. 3D printed box for electronic components, hinges, brackets – thanks Trle!
- Power Up: Connect the controller board to a power source. Most kits come with a power adapter.
- Connect to Your Laptop: Use an HDMI or VGA cable to connect the controller board to your laptop. Your operating system should recognize the screen as an external monitor.
- Adjust Settings: Go to your laptop’s display settings to arrange your screens and customize the setup according to your preferences.
By following these steps, you can efficiently repurpose an old laptop screen into a functional second monitor. Not only does this solution extend the life of your old hardware, but it also enhances your productivity by providing additional screen space.
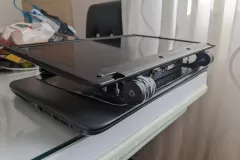
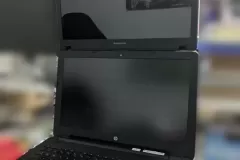
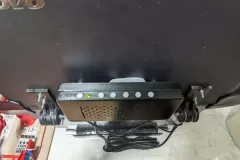
The original plan was to just attach the controller to the plastic of the miniatur and leave it “bare”. That’s where Trle, my good friend from student days, jumps into the story, who happens to own a 3D printer and with the idea of printing a box and accompanying parts for connecting two monitors. I have to point out that we don’t live in the same place, so we communicated the controller board size and dimensions of both laptop monitors via pictures! It turned out great in the end!
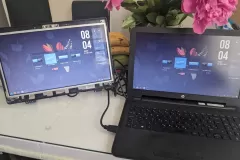
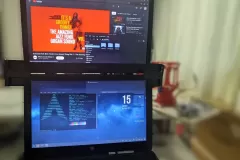
There is no need to describe the process in particular, once all the parts are available, all that remains is to assemble everything and enjoy using the laptop – with two screens! The assembly took a couple of days, because I had to fit in with current commitments, and you can see the finished product in the gallery! I can’t express enough the delight I feel whenever I sit down at my laptop! I am attaching pictures illustrating the assembly process and the monitors in operation!
This DIY project is not only cost-effective but also environmentally friendly, as it promotes the reuse of electronic components. For those looking to expand their workspace without breaking the bank, this is a perfect solution.
